Rejuran Healer
A skin rejuvenation treatment designed to improve skin texture, hydration, elasticity, and overall skin quality through collagen regeneration.
___________________________________________________________________________________________________________________________
I had heard a lot about Rejuran Healer treatments. People always say the results are amazing, but also that it’s painful, so I kept hesitating… until I finally tried it. From pain to results, here’s everything.
Clinic Visit
It had been a while since I visited Seoul.
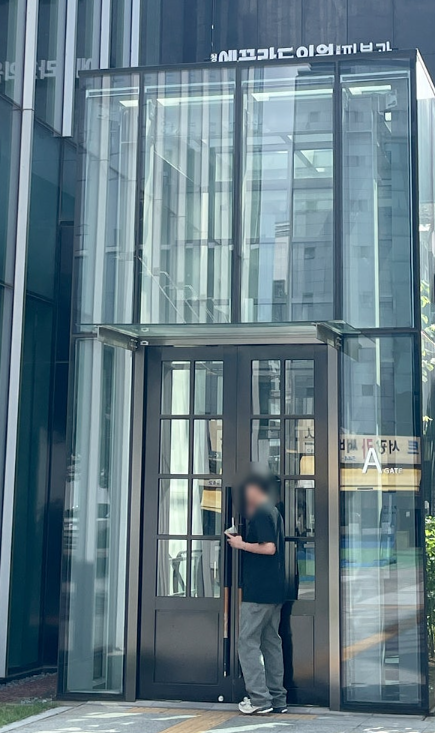
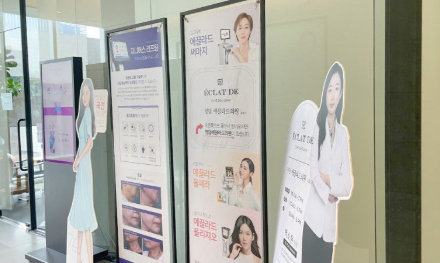
When it comes to dermatology, Cheongdam is the place to go, right? So I headed to Cheongdam Square, feeling a little fancy.
It was a hot day, and I arrived a bit tired, but the building itself was impressive.
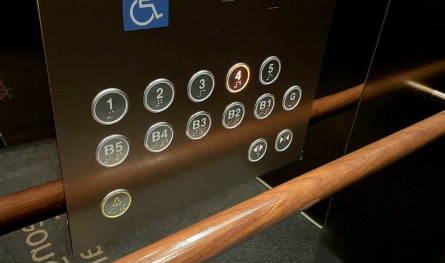
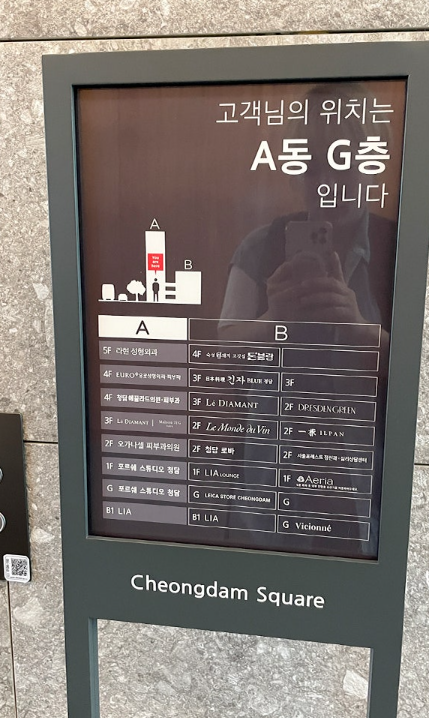
The layout was a bit complex, but thanks to clear directions, I found my way easily. One thing to note: the elevator starts from the G floor, not the 1st floor.
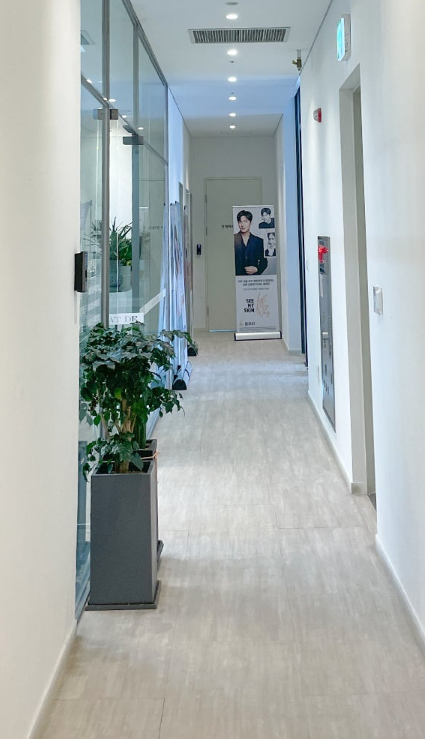
I headed up to the 4th floor for my Rejuran Healer + Rejuran Eye treatment.
The clinic interior was clean and minimal, which I personally loved. It just gives you that feeling of trust.
Consultation
Before starting, the doctor asked if I was familiar with the treatment and carefully discussed my skin concerns.
For those who don’t know:
Rejuran Healer helps repair and regenerate the skin
Rejuran i is designed specifically for the delicate eye area, with a lighter formulation
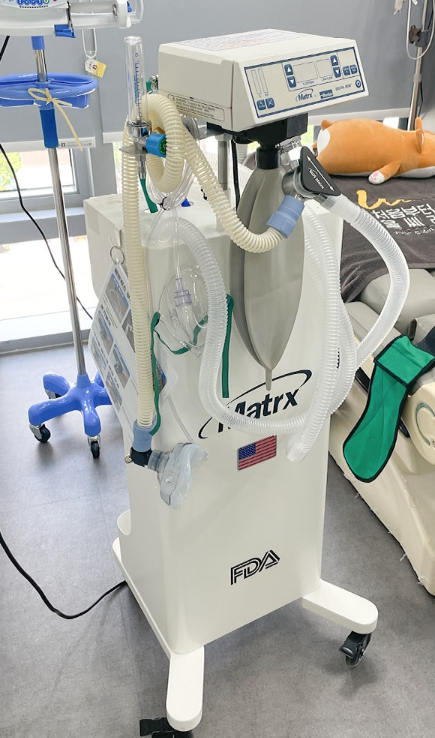
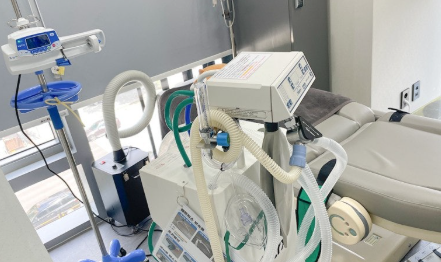
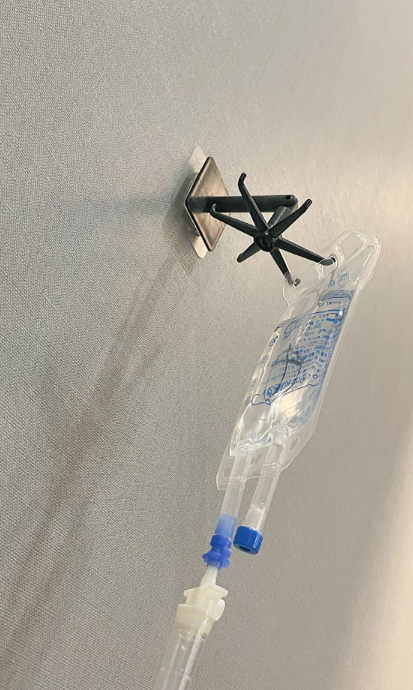
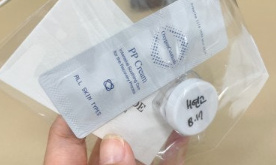
Since Rejuran is known to be painful, they use numbing cream and even gas anesthesia to reduce discomfort.
They also used a device to help the numbing cream absorb better, which I hadn’t experienced before.
Procedure
They even gave an additional injection to help with the anesthesia.
At that point, it felt like something serious was about to happen… but I was just here for skincare
The doctor worked very carefully and precisely.
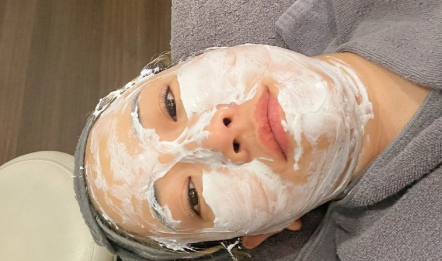
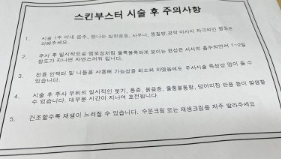
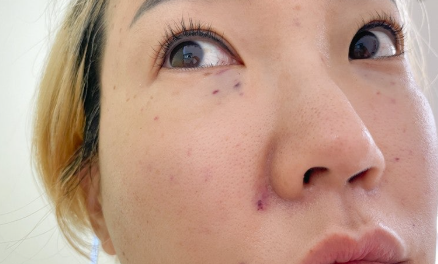
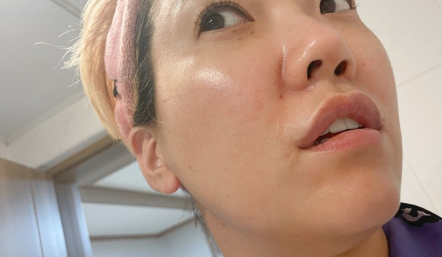
Right after the procedure, my face looked slightly swollen with a bumpy “embossing” effect.
After calming care, the bumps reduced significantly, and I was told any redness would fade within a few days.
Tip: definitely bring a hat and mask when you go.
Pain Level
Let’s be honest… yes, it hurts.
BUT…
The results that come after just a few days? Completely worth it.
At the time, I thought I’d never do it again. But a few days later, I had already changed my mind.
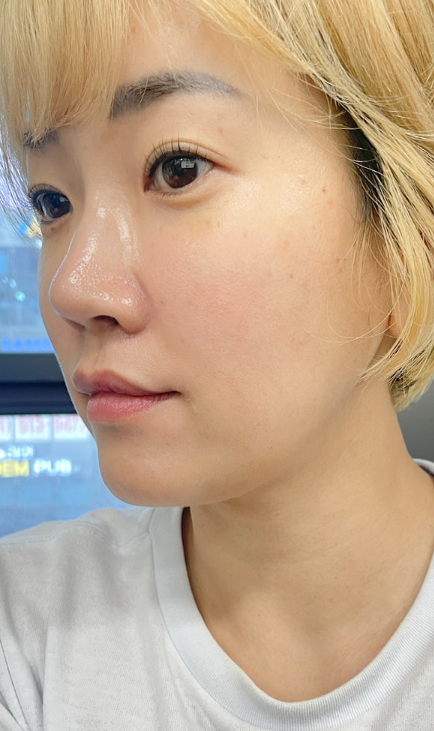
Day-by-Day Results
Next Day
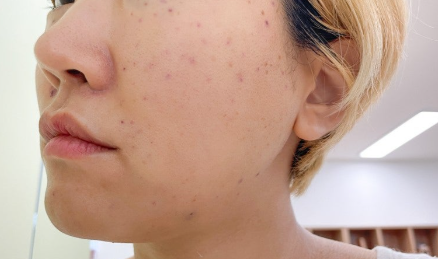
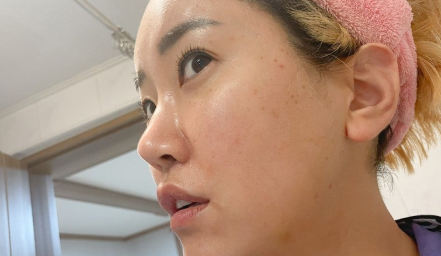
There was some swelling in the morning, more than usual.
Most marks had faded, except under the eyes and around the smile lines.
Honestly, it’s manageable enough to go to work the next day.
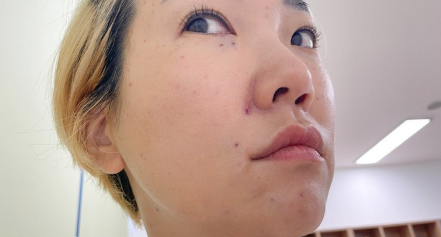
After 2 Days

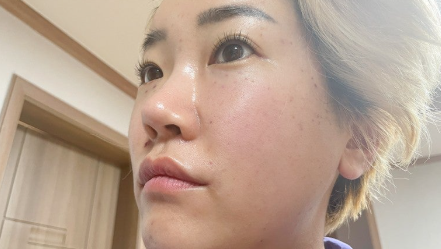
Marks were barely noticeable unless pointed out.
My skin started to develop a natural glow.
For someone with dry, dull skin, this was a big change.
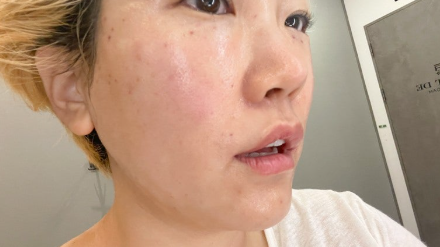
After 4 Days
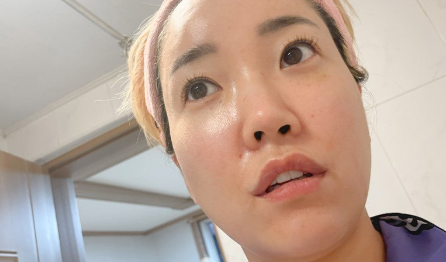
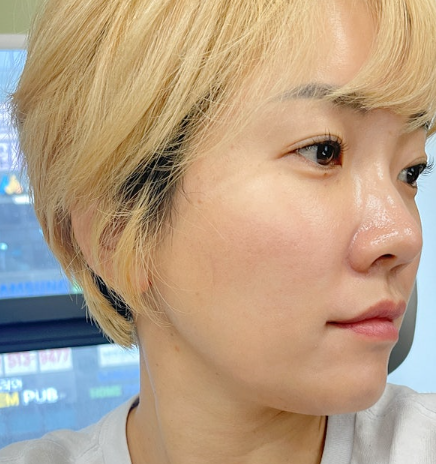
By day 3–4, all marks were gone.
My skin felt completely renewed.
Even areas I was concerned about, like pores around my nose, showed improvement.
At this point, I really understood why people swear by Rejuran.
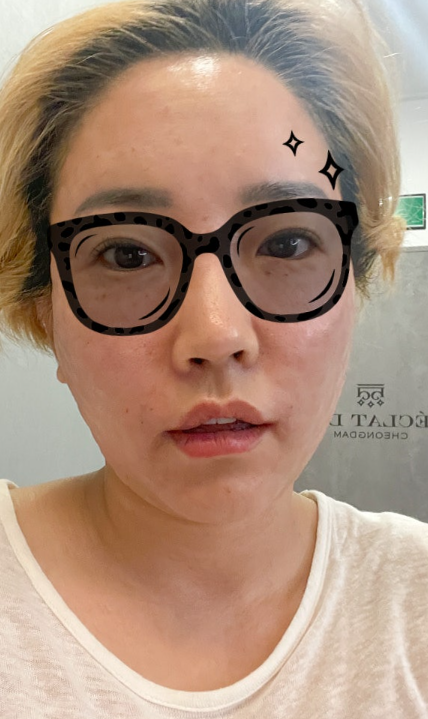
After 5 Days
My skin looked its best.
For damaged skin, it’s recommended once a month.
For maintenance, once every 3 months.
At this point, I felt like this is a treatment you just have to try.
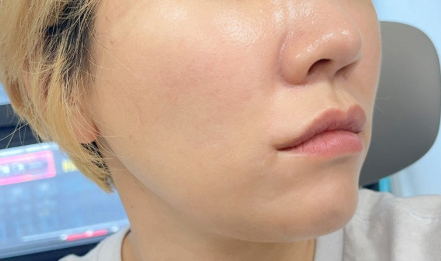

Looking in the mirror became enjoyable again.
If you’re considering Rejuran Healer, I genuinely recommend it.
#RejuranHealer #RejuranEye #SkinBooster #GlassSkin #KoreanSkincare #SkinRegeneration #AntiAging #GlowSkin #DermatologyTreatment #SkinCareReview